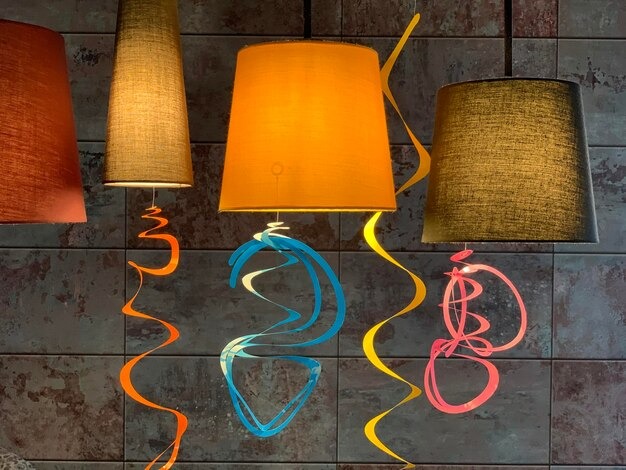
So, you’ve found the perfect vintage lamp at a thrift store, or maybe your trusty old floor lamp is looking a bit “tired” with a yellowed, dusty shade. You go online to find a replacement, only to realize that custom shades are quite expensive, and those DIY kits can be a bit restrictive.
The good news? You can absolutely learn how to make a lampshade without a kit. It’s one of those DIY projects that feels difficult until you realize it’s mostly just high school geometry and some good glue.
Plus, making it yourself means you can use that specific fabric or paper you’ve been saving for a “special project.” Let’s get into the insights of building a shade from scratch.
What You’ll Need (The Non-Kit Essentials)
Since we aren’t using a pre-packaged kit, we have to improvise the “skeleton” and the “skin” of the shade.
- Lampshade Rings: You can gather these from an old, ugly shade or buy them separately. You’ll need a “plain ring” for the bottom and a “spider ring” for the top.
- Adhesive Pressure-Sensitive Styrene: It is the secret ingredient. It’s a thin, flexible plastic sheet with a sticky side. It gives the shade its structure.
- Fabric or Decorative Paper: If you want a minimalist look, paper lamp shades made from heavy wallpaper or parchment are stunning.
- Binder Clips: These act as your “extra set of hands.”
- Fabric Glue or Tacky Glue: For the finishing seams.
- A “Trimmer” or Utility Knife: For crisp edges.
How to Make a Lampshade Without a Kit: Stepwise Guide
Here are the essential steps to follow while creating a lampshade without a kit:
Step 1: Create Your Template
The hardest part of making a lamp shade, especially if it’s a tapered one, is getting the curve right. If you have an old shade that fits the lamp, carefully rip the fabric off and use the old “skin” as your stencil.
If you don’t have an old shade, you can do the “roll method.” Place your styrene on the floor, mark a starting point on your rings, and slowly roll the ring across the sheet, tracing its path with a pencil.
Step 2: Bonding the Material
Once you have your styrene shape cut out, it’s time to apply your paper shades material or fabric. Peel back a few inches of the adhesive backing on the styrene and line up your material. Slowly smooth it down to avoid air bubbles.
Always leave an extra half-inch of fabric/paper hanging off the top, bottom, and one side. This “overhang” is what you’ll fold over the rings to make the edges look professional.
Step 3: The “Clip and Glue” Phase
This is where the magic happens. Take your top and bottom rings and use your binder clips to attach your material to them. It allows you to “dry fit” the shade. Once it’s perfectly aligned and the vertical seam is straight, apply a thin line of glue along that side seam and press it shut.
Step 4: Rolling the Edges
Now, remember that extra half-inch of fabric we left? Apply a tiny bit of glue to the inside of that overhang. Carefully tuck and fold the fabric over the metal rings.
It hides the wire and gives you that clean, store-bought finish. If you’re making a floor lamp shade replacement, you might want to add a decorative “trim” or ribbon over these edges for extra durability.
Tips for Floor Lampshade Replacement
Floor lamps are bigger, which means the lamp shade needs to be sturdier. If you are replacing a large shade:
- Use Heavy-Duty Styrene: Thin plastic might sag on a 15-inch-wide shade.
- Double the Adhesive: Ensure your vertical seam is reinforced. Heat from a large bulb can sometimes cause cheap glue to “creep” or peel.
- Paper Choice: If you’re going the route of paper shades, ensure the paper is thick enough (like cardstock or vellum) so it doesn’t tear when you’re stretching it over the large rings.
You’ve Got This!
Learning how to make a lampshade without a kit is a total game-changer for your home decor. It turns a functional object into a piece of art.
Whether you’re crafting delicate paper lampshades for a desk or a bold floor lamp shade, the satisfaction of seeing that light click on for the first time is worth every bit of effort.
FAQs
Can I use any fabric for a DIY lampshade?
Natural fibers like cotton and linen work best. Avoid super stretchy fabrics (like spandex) or very thick upholstery fabrics, as they are hard to tuck around the rings.
Is it safe to use paper for a lampshade?
Yes, but keep a “safety zone.” Ensure the paper is at least 2–3 inches away from the bulb. Using LED bulbs is highly recommended for DIY shades because they produce almost no heat.
What if I don’t have styrene?
In a pinch, you can use heavy-duty cardstock or even thin flexible placemats, but styrene is the gold standard because it’s heat-resistant and won’t yellow quickly.
How do I get the “wrinkles” out of my fabric?
Iron your fabric thoroughly before sticking it to the adhesive. Once it’s on the glue, you can’t iron it without melting the plastic!
How do I clean a handmade paper lamp shade?
Never use water. Use a dry microfiber cloth or a “soft” paintbrush to whisk away dust.
Disclaimer
The instructions provided in this article are intended for educational and creative purposes only. While we have outlined methods for making a lampshade without a kit, we do not guarantee the results, and outcomes may vary depending on materials, tools, and individual skill levels. Always exercise caution when handling sharp tools, adhesives, and electrical components. Ensure that your finished lampshade maintains a safe distance from heat sources and bulbs, and consider using low-heat LED bulbs to minimize fire risk. The author and publisher are not responsible for any damage, injury, or loss resulting from the use of these instructions. DIY projects carry inherent risks, and readers assume full responsibility for their own safety.